
I forgot to take some photos earlier in the process of making these...mainly because I was on the phone to the Boy at the time...but I remembered not to far in! These are a little bit more involved than the recipe I posted earlier, but look (and taste) amazing. I know, I know, 2 brownie recipes in 1 week...but, really, these are red! Plus, I bought myself a new brownie pan, and wanted to break it in :)
Ingredients
1 cup unsalted butter, room temperature
1 1/2 cups caster sugar
1 1/2 cups brown sugar
4 eggs
1 50ml bottle of Pillar Box Red food colouring
4 tsp vanilla extract
2 1/2 cups plain flour
6 tbsp cocoa
1/2 tsp salt
Method
Preheat your oven to 180C and grease and line your pan (or pans). With an electric mixer, beat your butter and both sugars together until pale and fluffy (it will kinda look like sand). Then, add your eggs. Add these 1 at a time, beating after each egg.


Combine your flour, cocoa and salt in a separate bowl, and slowly add to the batter. You may need to scrape the sides of the bowl a bit here to make sure it's all in there. Beat until all the flour is combined. It should look something like this

Nice and pale and smooth. Next add your vanilla and your food colouring. Now, I mix the food colouring through the batter a bit before using the mixer. Otherwise red dye flies everywhere. Mix the food colouring until it is just combined. Don't overwork the batter.

Mix it round a bit with a plastic spatula, just to make sure it's all combined, then pour the batter into your prepared tin. It's quite thick, so you may need to spread it out with a spatula so it's nice and even in the tin
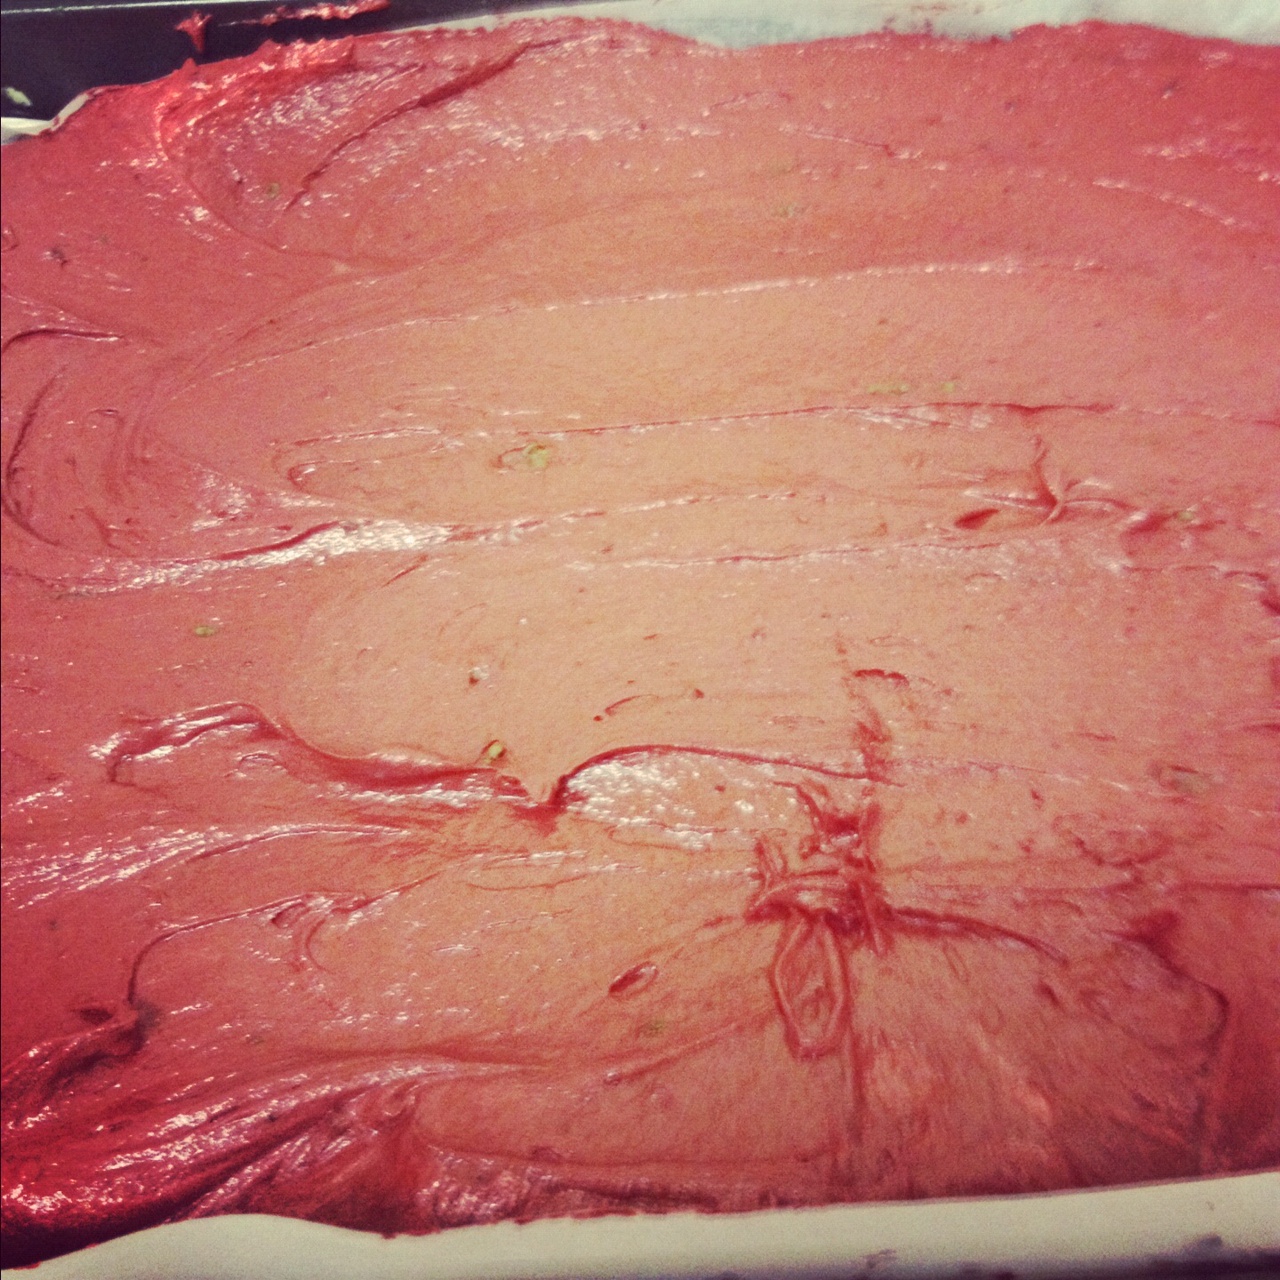
And then, as if making them red wasn't indulgent enough for me (and we all know it's not) I sprinkled some milk choc chips (the ones that hold their shape) over the top of the mixture.

Pop it in the oven and bake for about 30 minutes, or until a skewer inserted comes out clean. Once it's done, leave it to cool in the tin, and then slice into bars and serve.

As I said earlier, these are a little bit more cake like than the ones I made earlier in the week, but they taste just as good, and they look amazing (even if I do say so myself)

No comments:
Post a Comment